Within the ReachMoreParents Parents Event Management System, we have automated the process of applying your classes by using you MIS Timetable and Class groups to "pull in" the subjects for you. If there is a need to remove classes, or add in any additional ones, this article will instruct you how to do so.
Firstly, you need to access PEMs as an Admin:
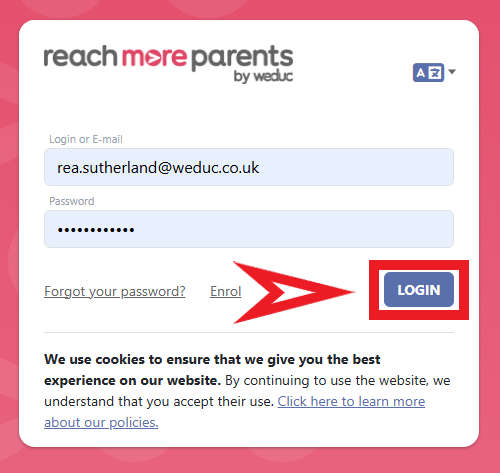
1) Log in to ReachMoreParents.
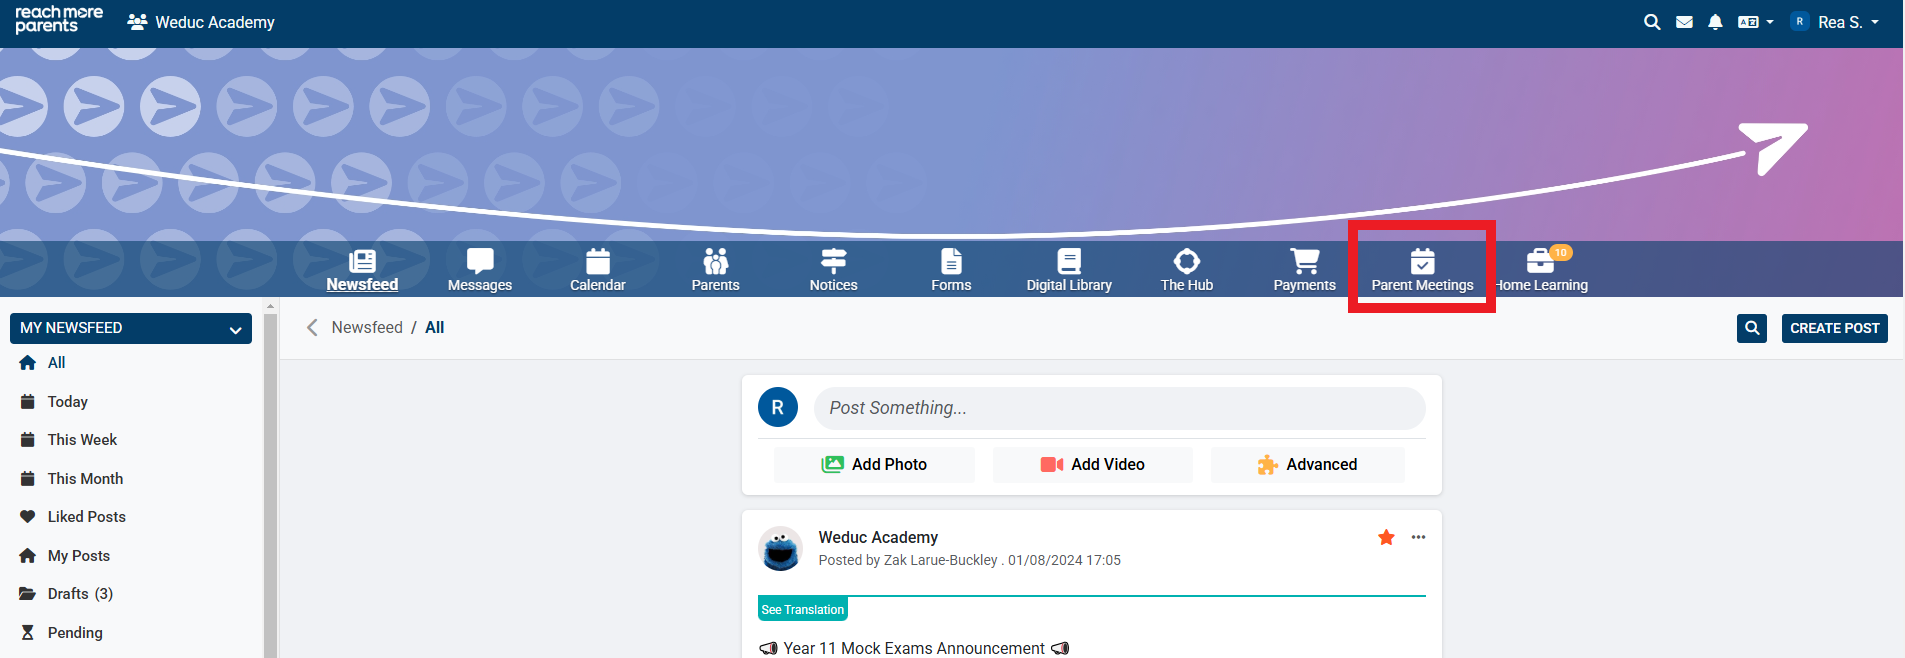
2) Click on the Parent Meetings icon
From here, you will need to carry the following steps:
Section A - If your event is already published and has bookings
If your event is in drafts, please skip to Section B
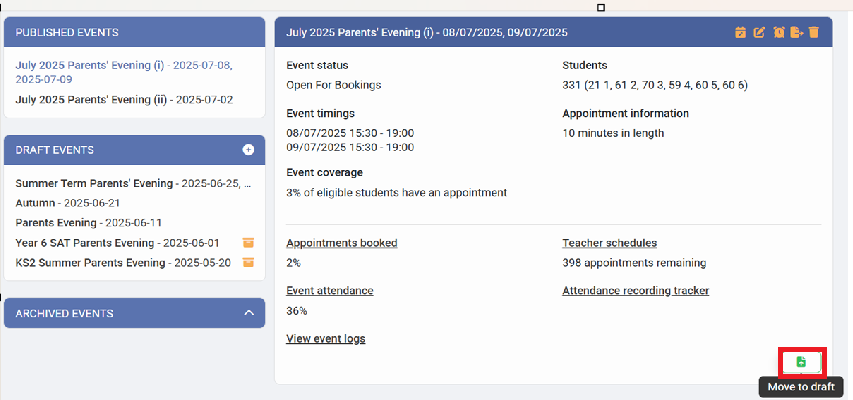
1) If your event has been published, you will first need to move it to drafts. Click on the event name and then select the Green 'Move to Draft' button in the bottom right of the event tile.
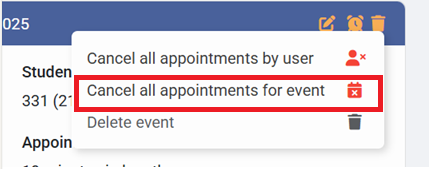
2) Once you have moved the event click on the event name again in the drafts section and then click the bin icon to delete previously booked appointments.

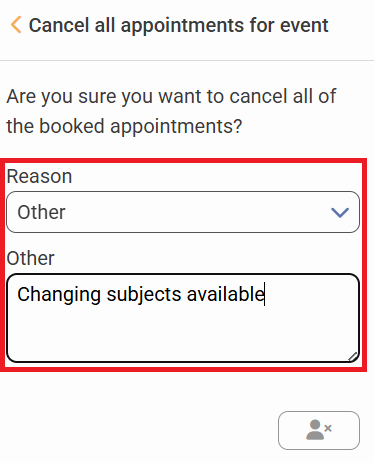
3) Select 'Cancel all appointments for the event', select 'Other' as your reason and then type in the reason in the text box. Finally, click on the image of the person with a cross at the bottom.
Section B - Once your event is in drafts and has no bookings
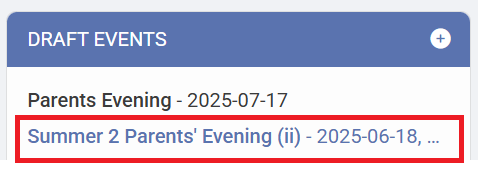
1) Click on the Event title that you need to amend the classes for
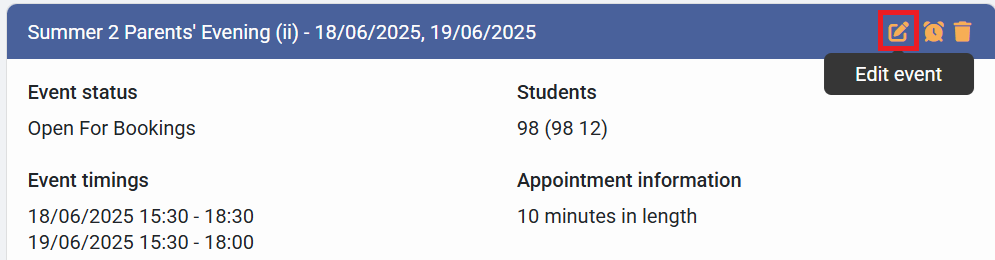
2) Click on "Edit Event" within the Event Summary block
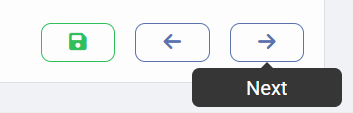
3) Click on "Next" to move on from the Basic Event Information, Event Date & Times and Appointment Settings screens
Adding a class
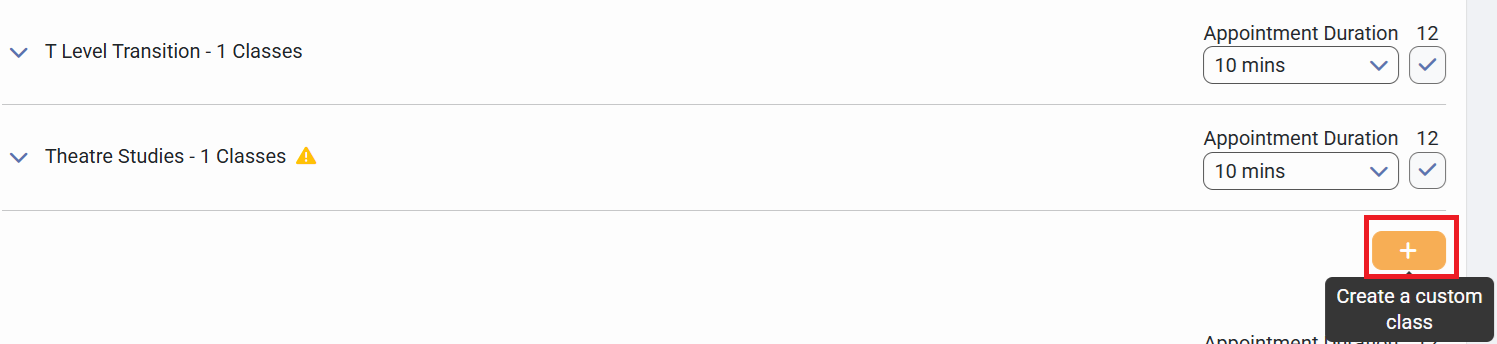
1) On the "Classes & Teacher Settings" screen, if the subject you need to include isn't listed, click on the + to create a custom class (at the bottom of all the classes, on the right side of the screen)
2) Type the display name for the class you're adding

3) Click on the 'Group' dropdown and select groups you wish to add, or alternatively type the name of the group into the text field.
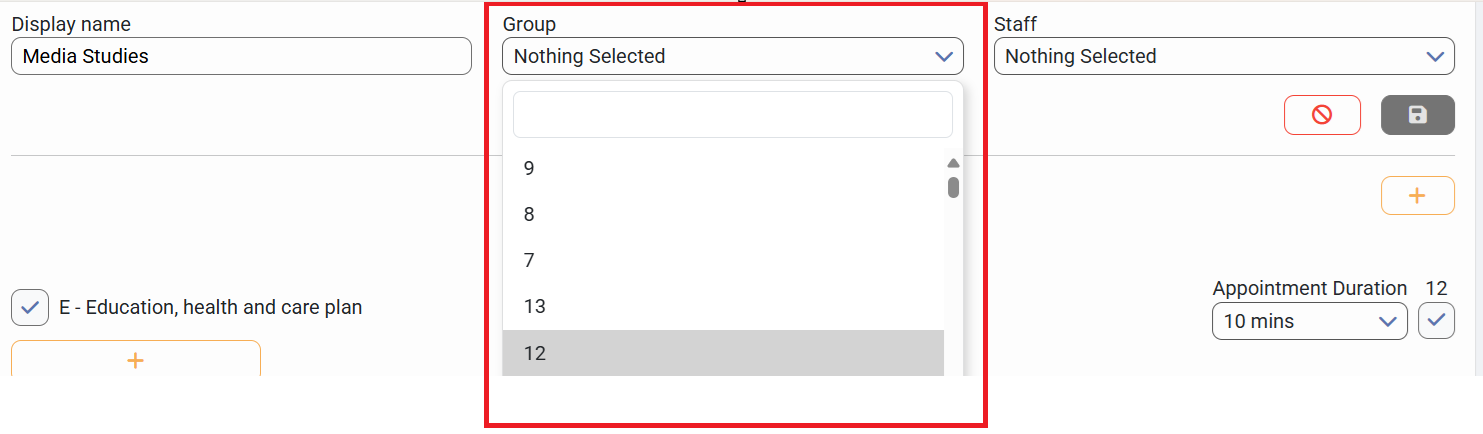
4) Click on the 'Staff' dropdown and select staff you wish to add, or alternatively type the name of the staff into the text field.

5) Click on "Save" against your custom class

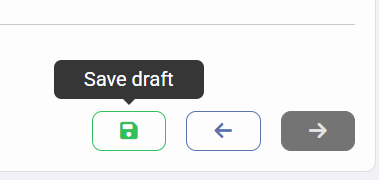
6) Click on "Save Draft" to accept all your changes (at the bottom of the page)

Removing a Class
1) On the "Classes & Teacher Settings" screen, locate the subject you need to remove
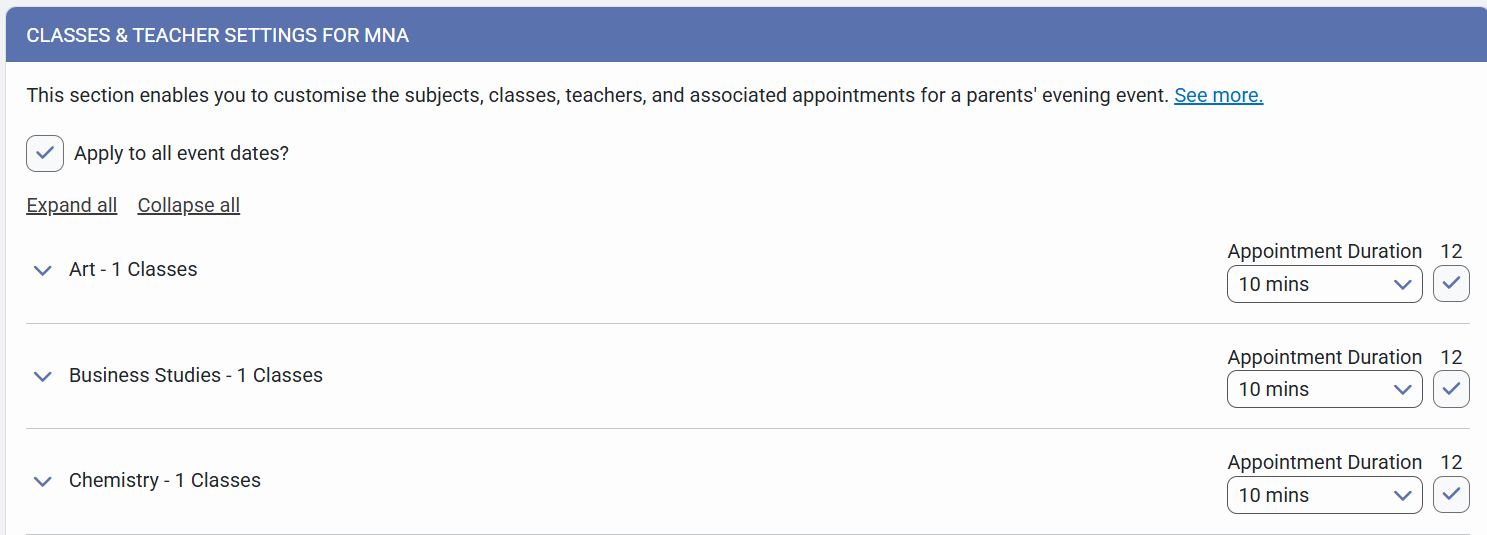
2) To remove the subject for a whole year group, uncheck it by clicking in the check boxes for each year group

3) To remove the subject for an individual class, click the downward facing arrow to the left of the subject name. Then uncheck the box to the left of the class you wish to remove.

4) Click on "Save Draft" to confirm your changes