This guide will help you to fill out the Appointment Settings for a PEMS Event. If you're creating a new event and you're not sure how to get to this point, read this article and re-join us here when you're ready to fill out the Appointment Settings phase of creating an event.
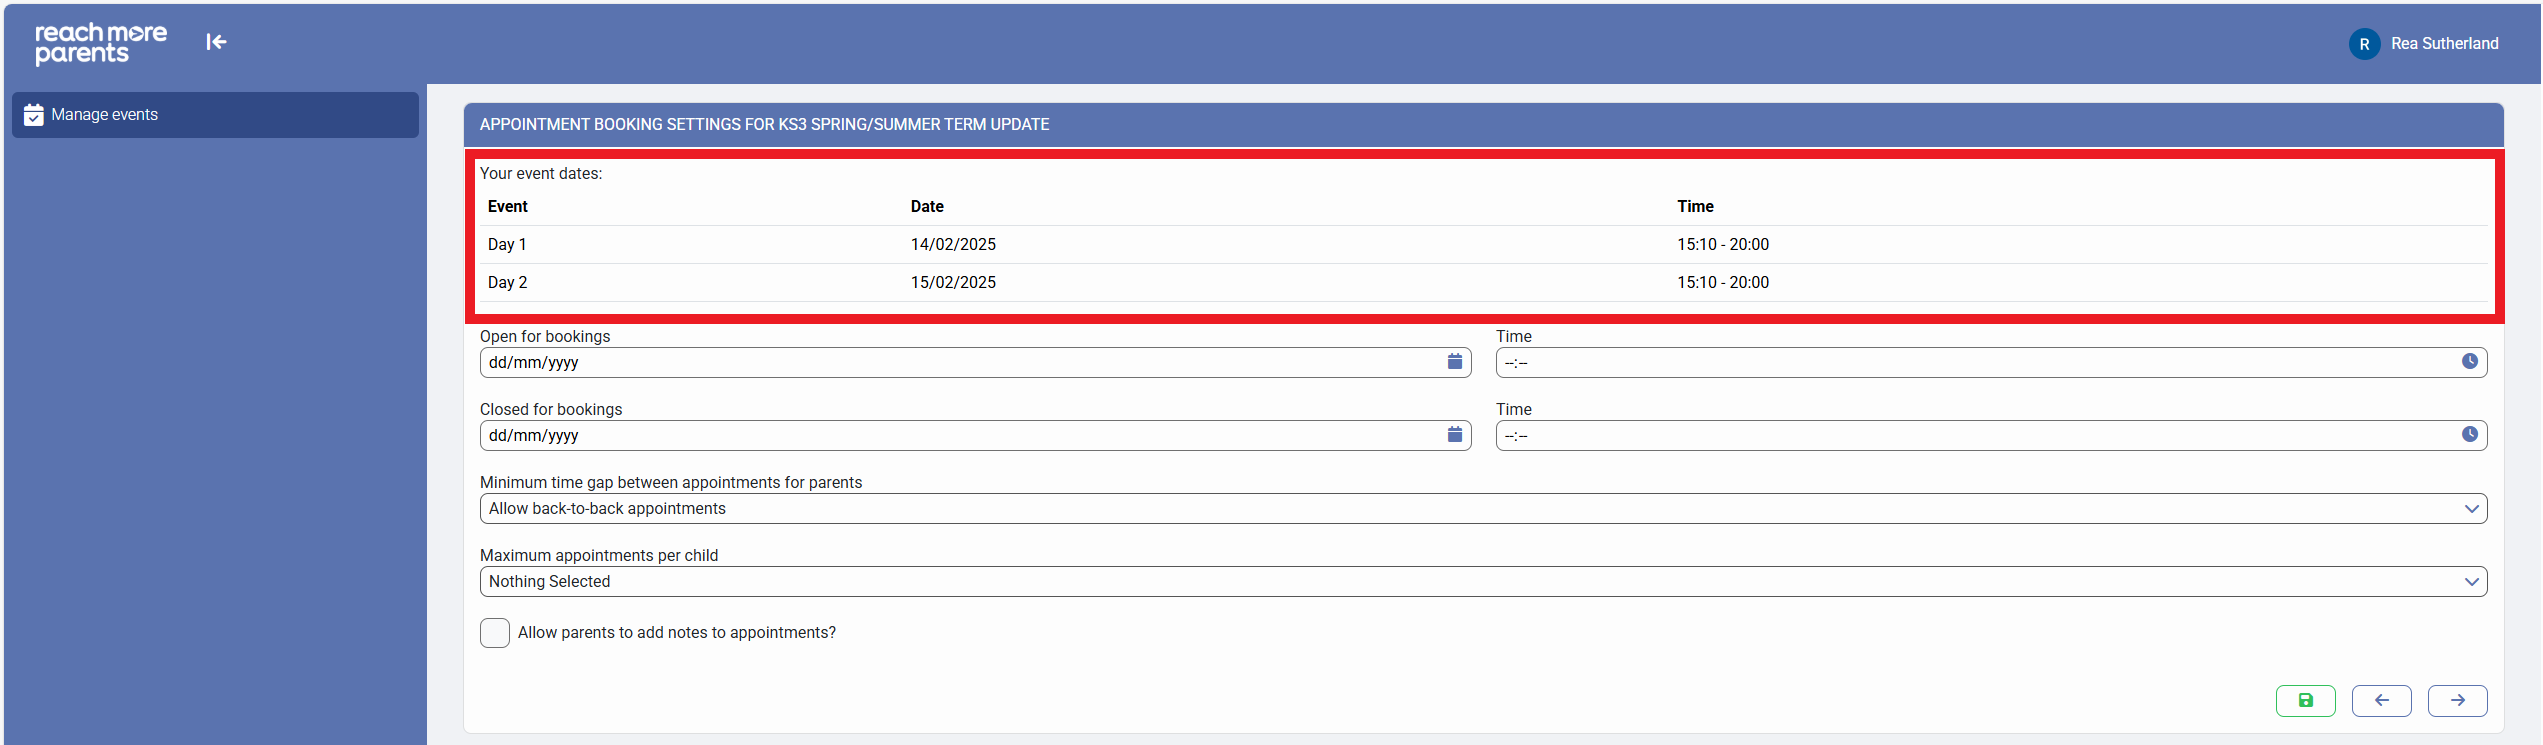
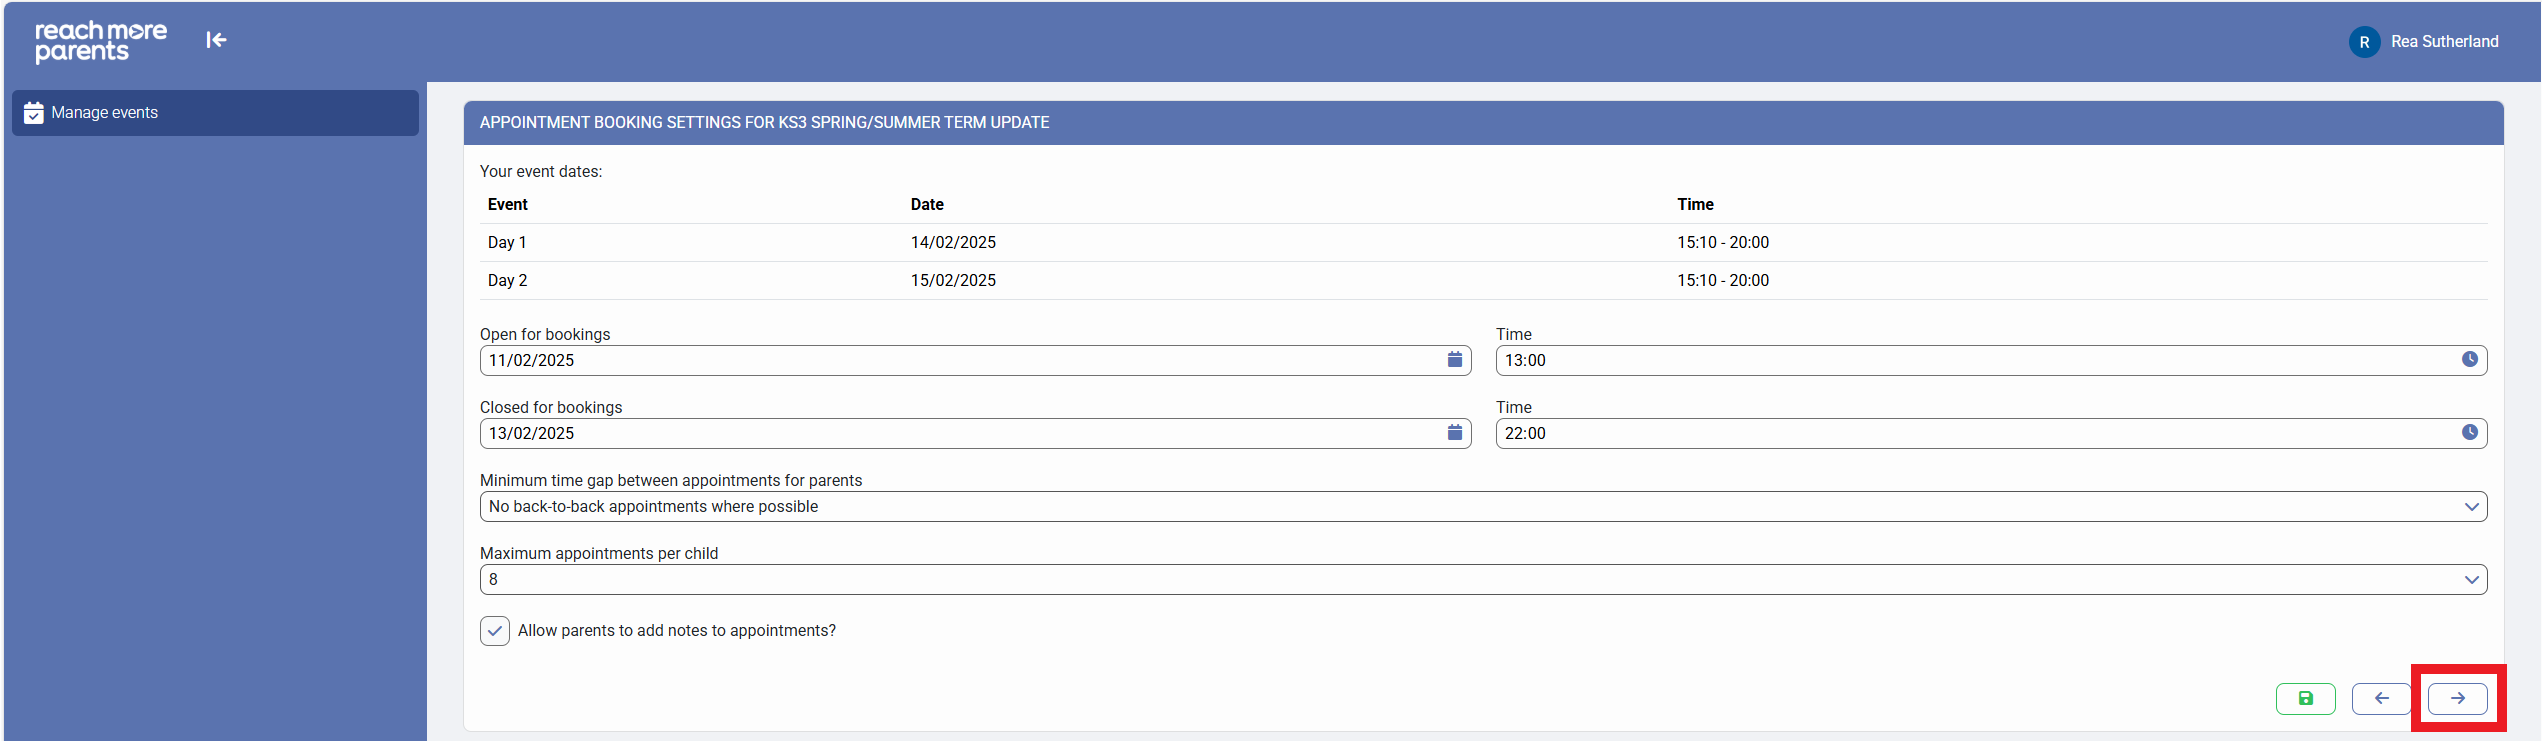
We have aimed to help with the process on this screen by displaying the Event Date(s) and Time(s) in the header of the screen for your review:
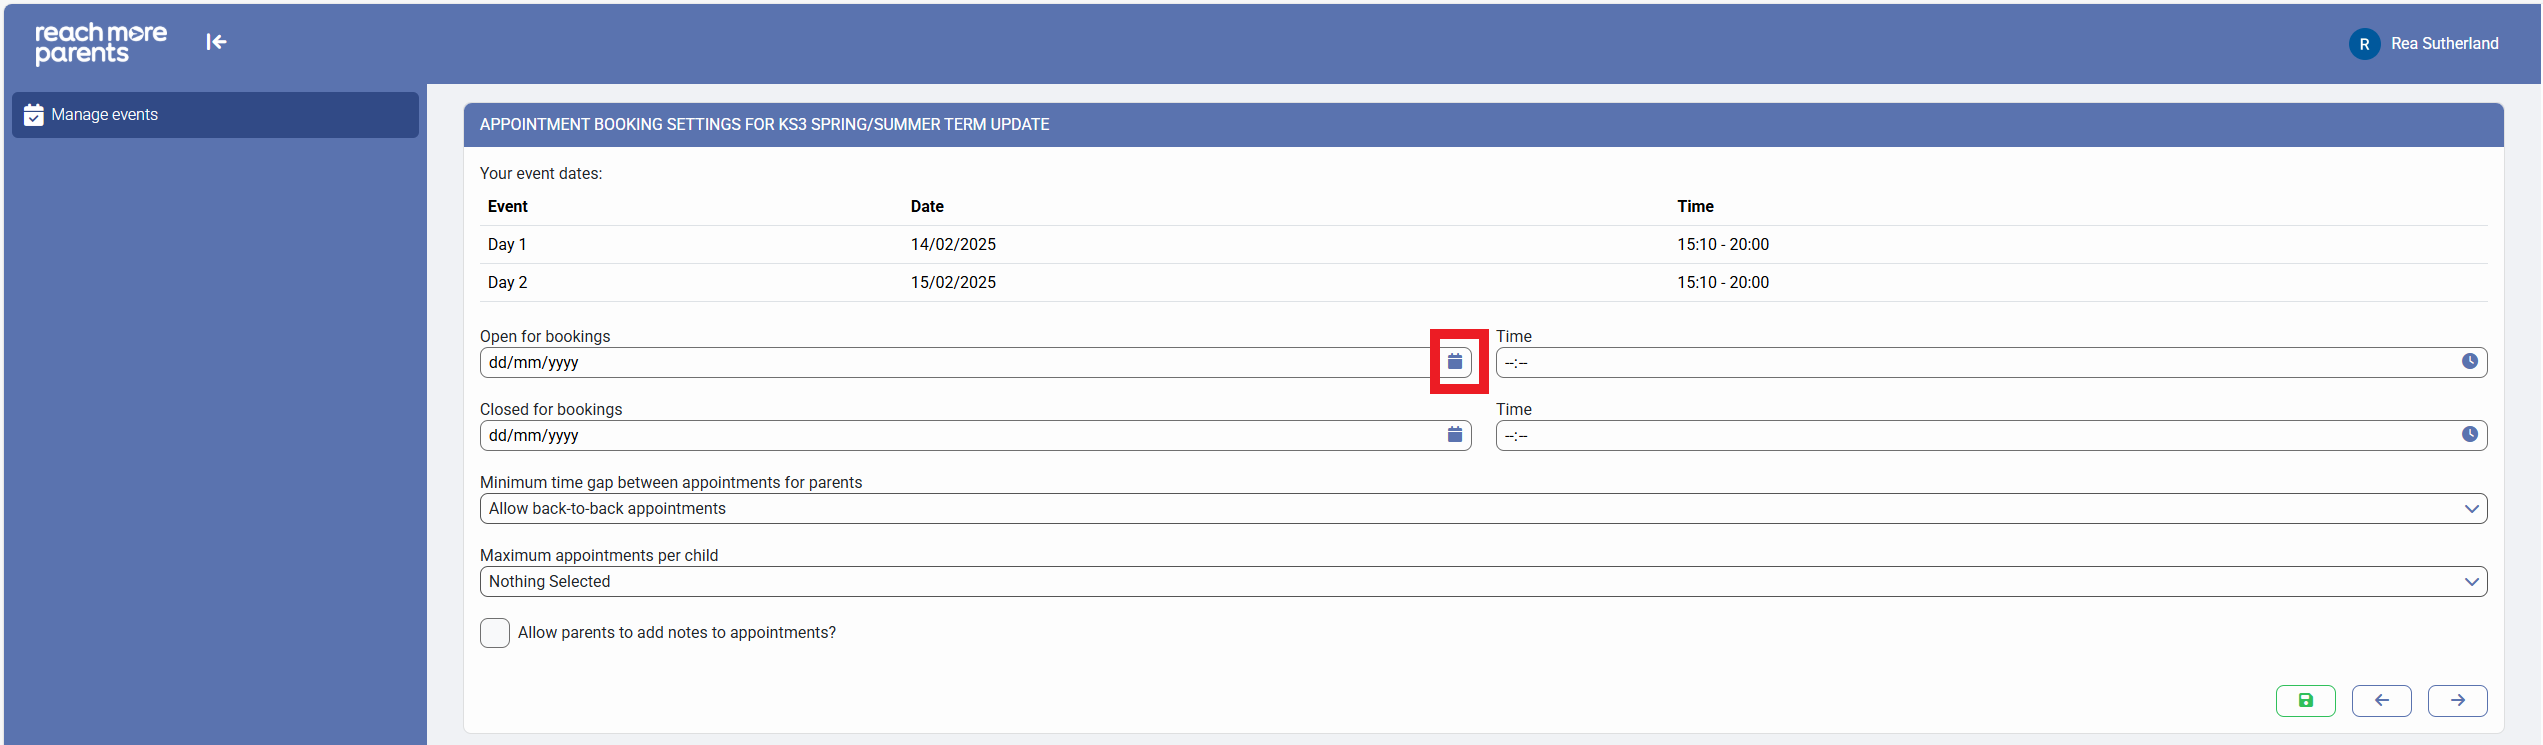
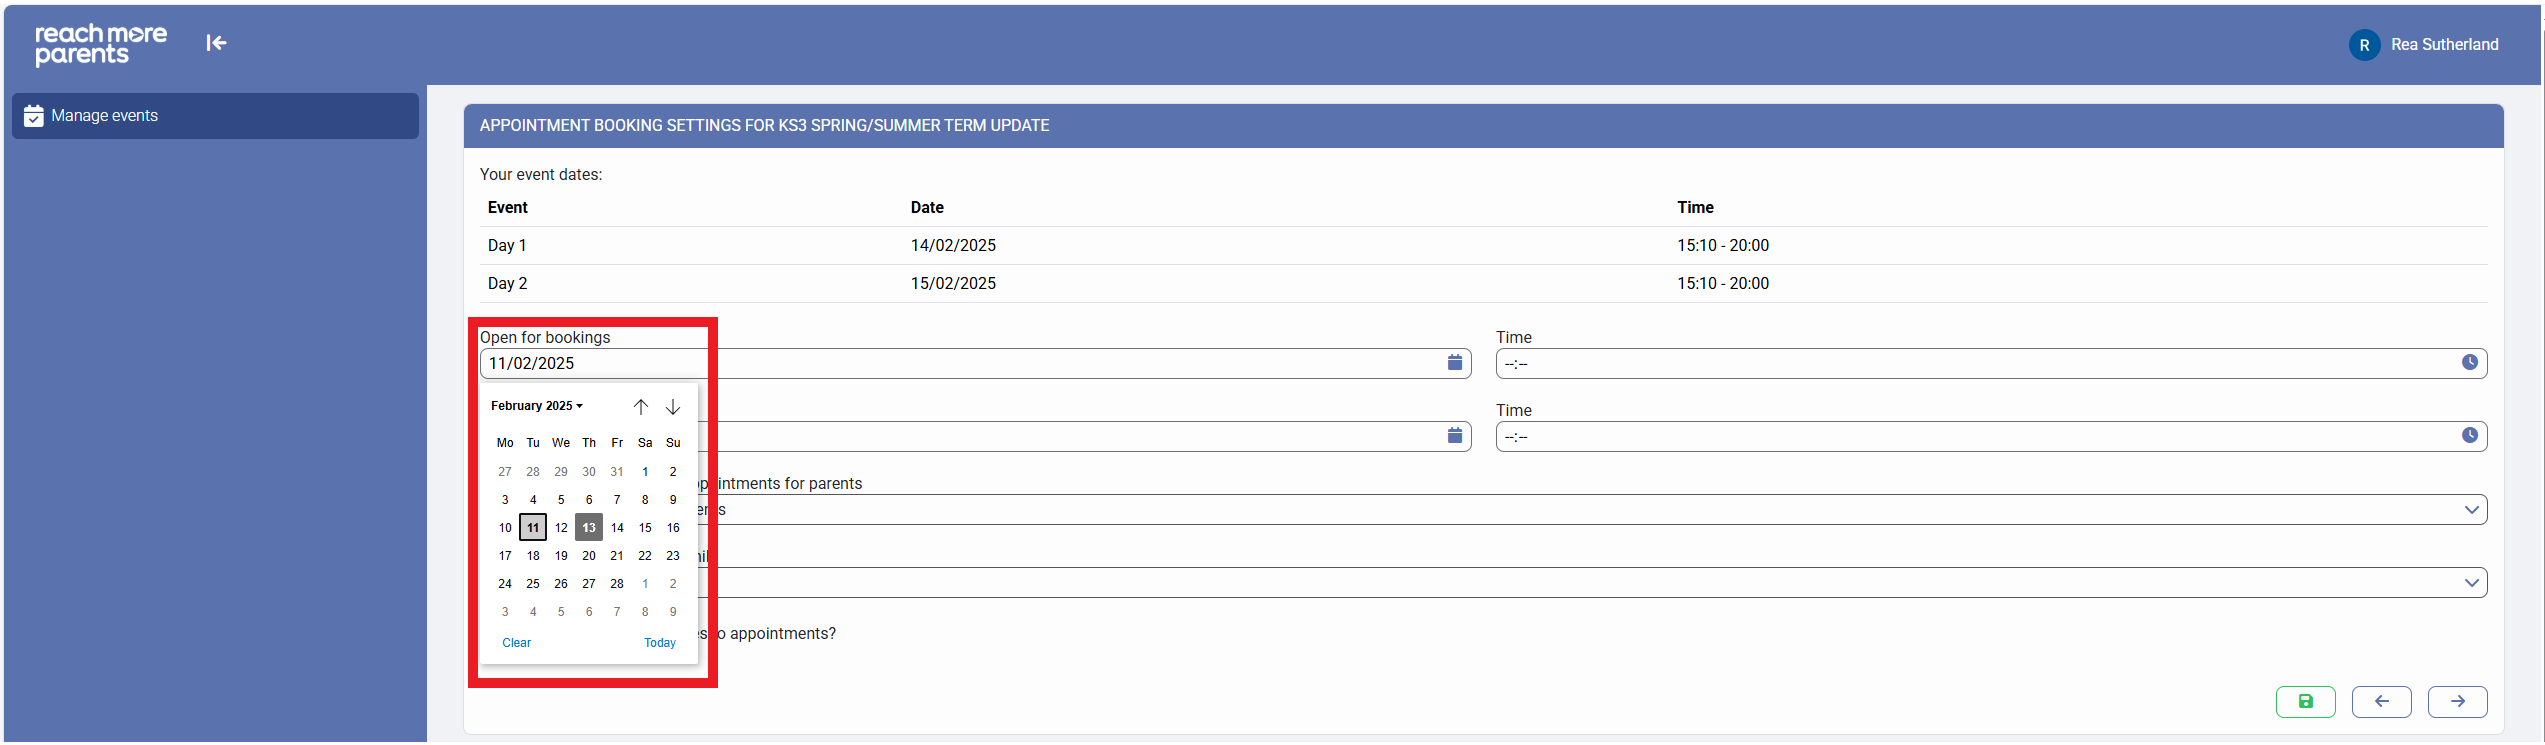
1) Click on the "Open for bookings" Calendar icon to use the calendar selector to choose the booking window start date
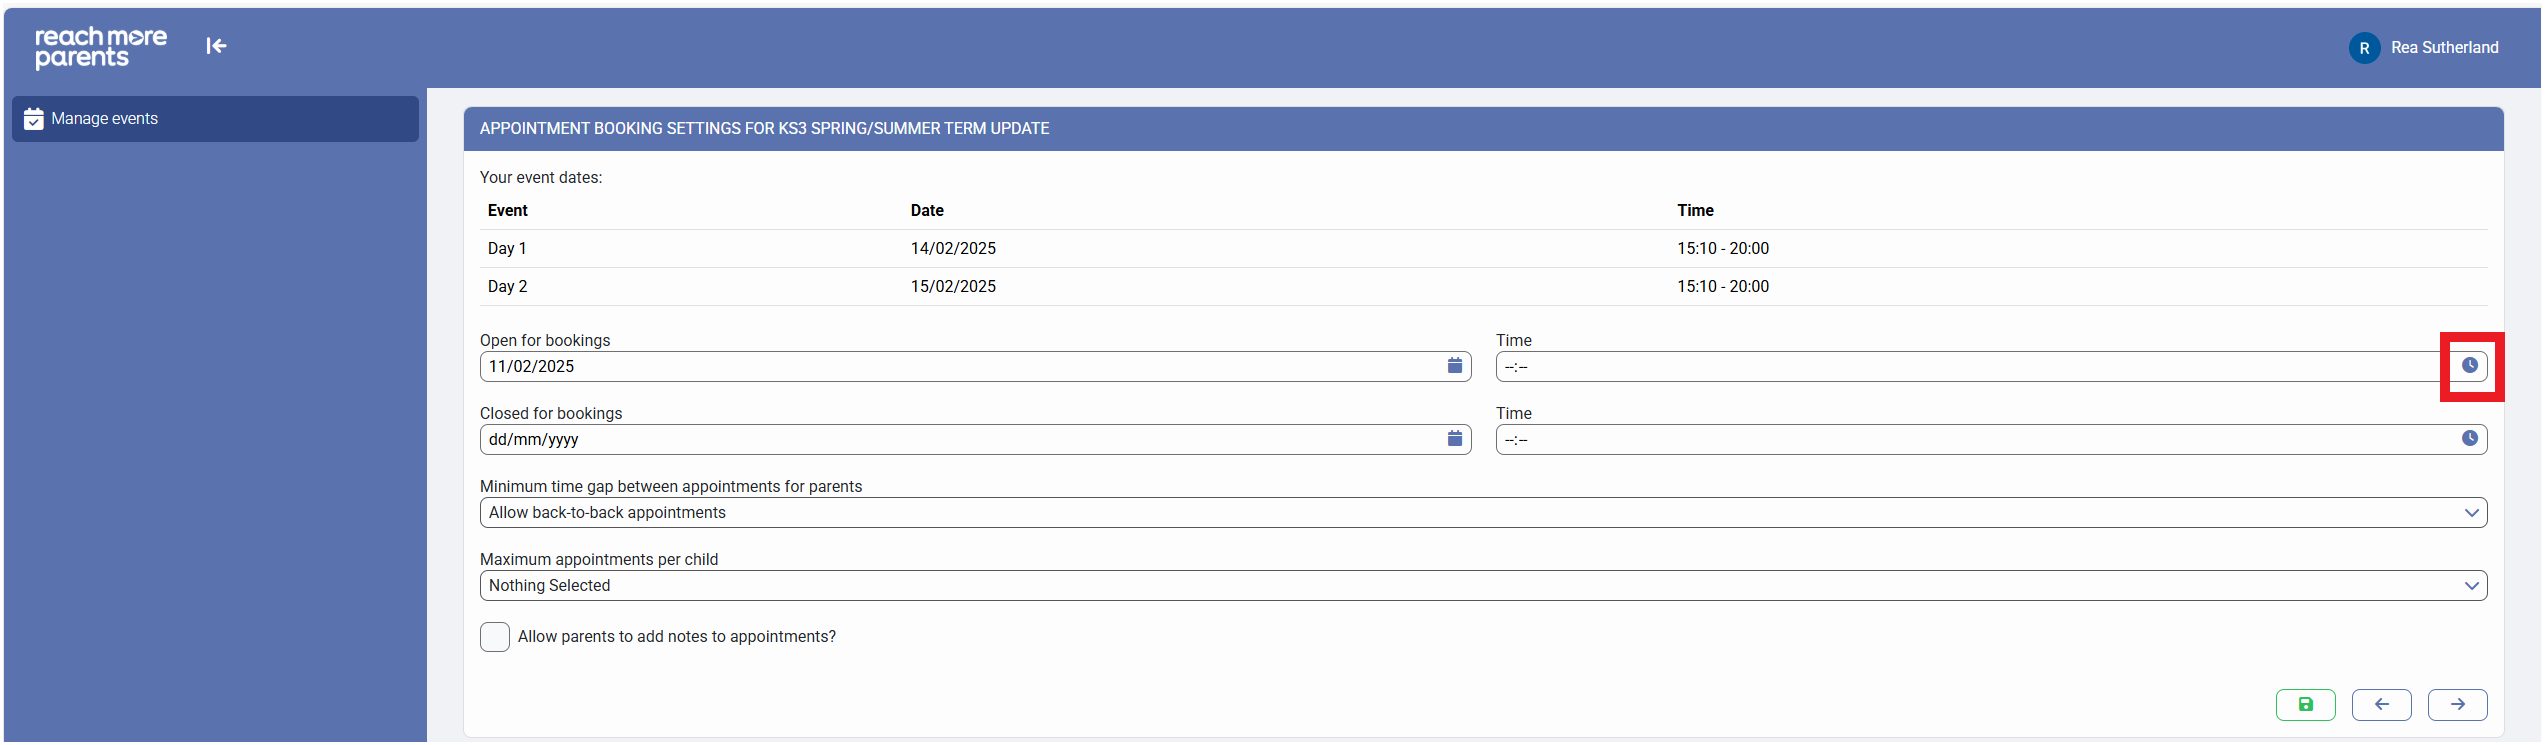
2) Click on the "Time" clock icon to use the hour and minute selector to define the booking window start time

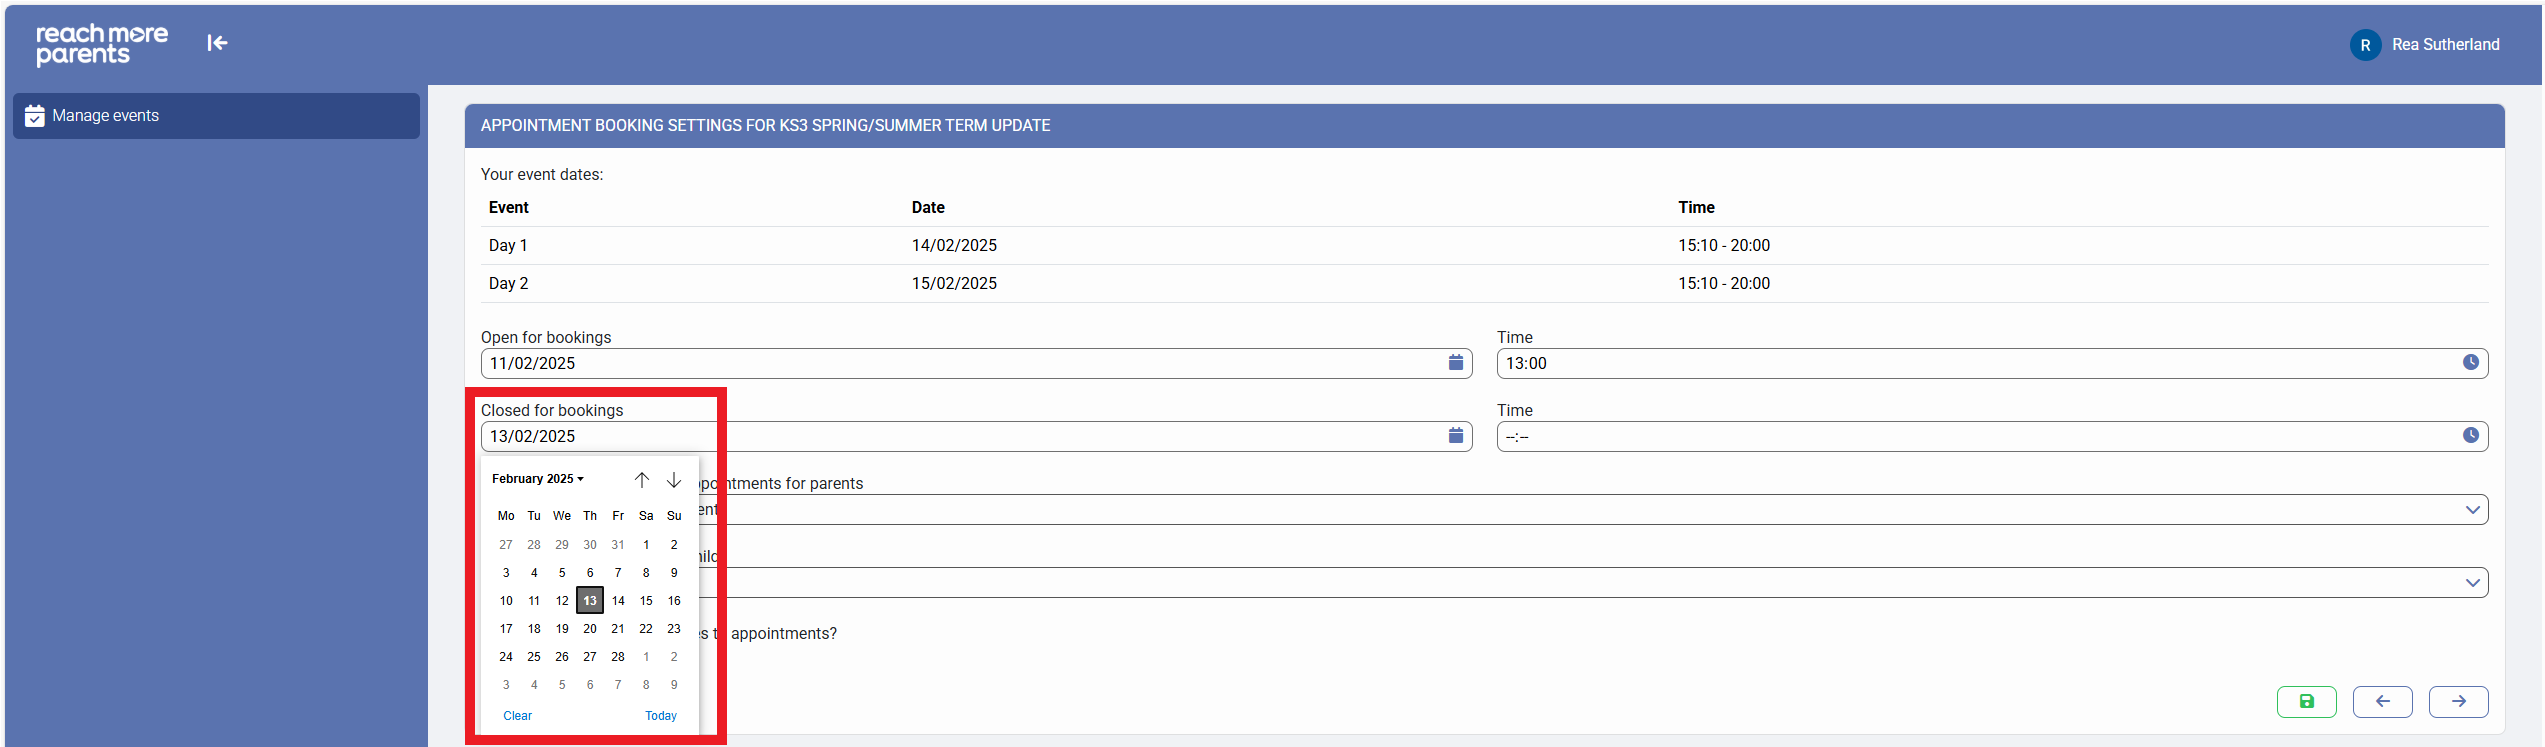
3) Click on the "Closed for bookings" calendar icon to use the calendar selector to choose the Booking window close date

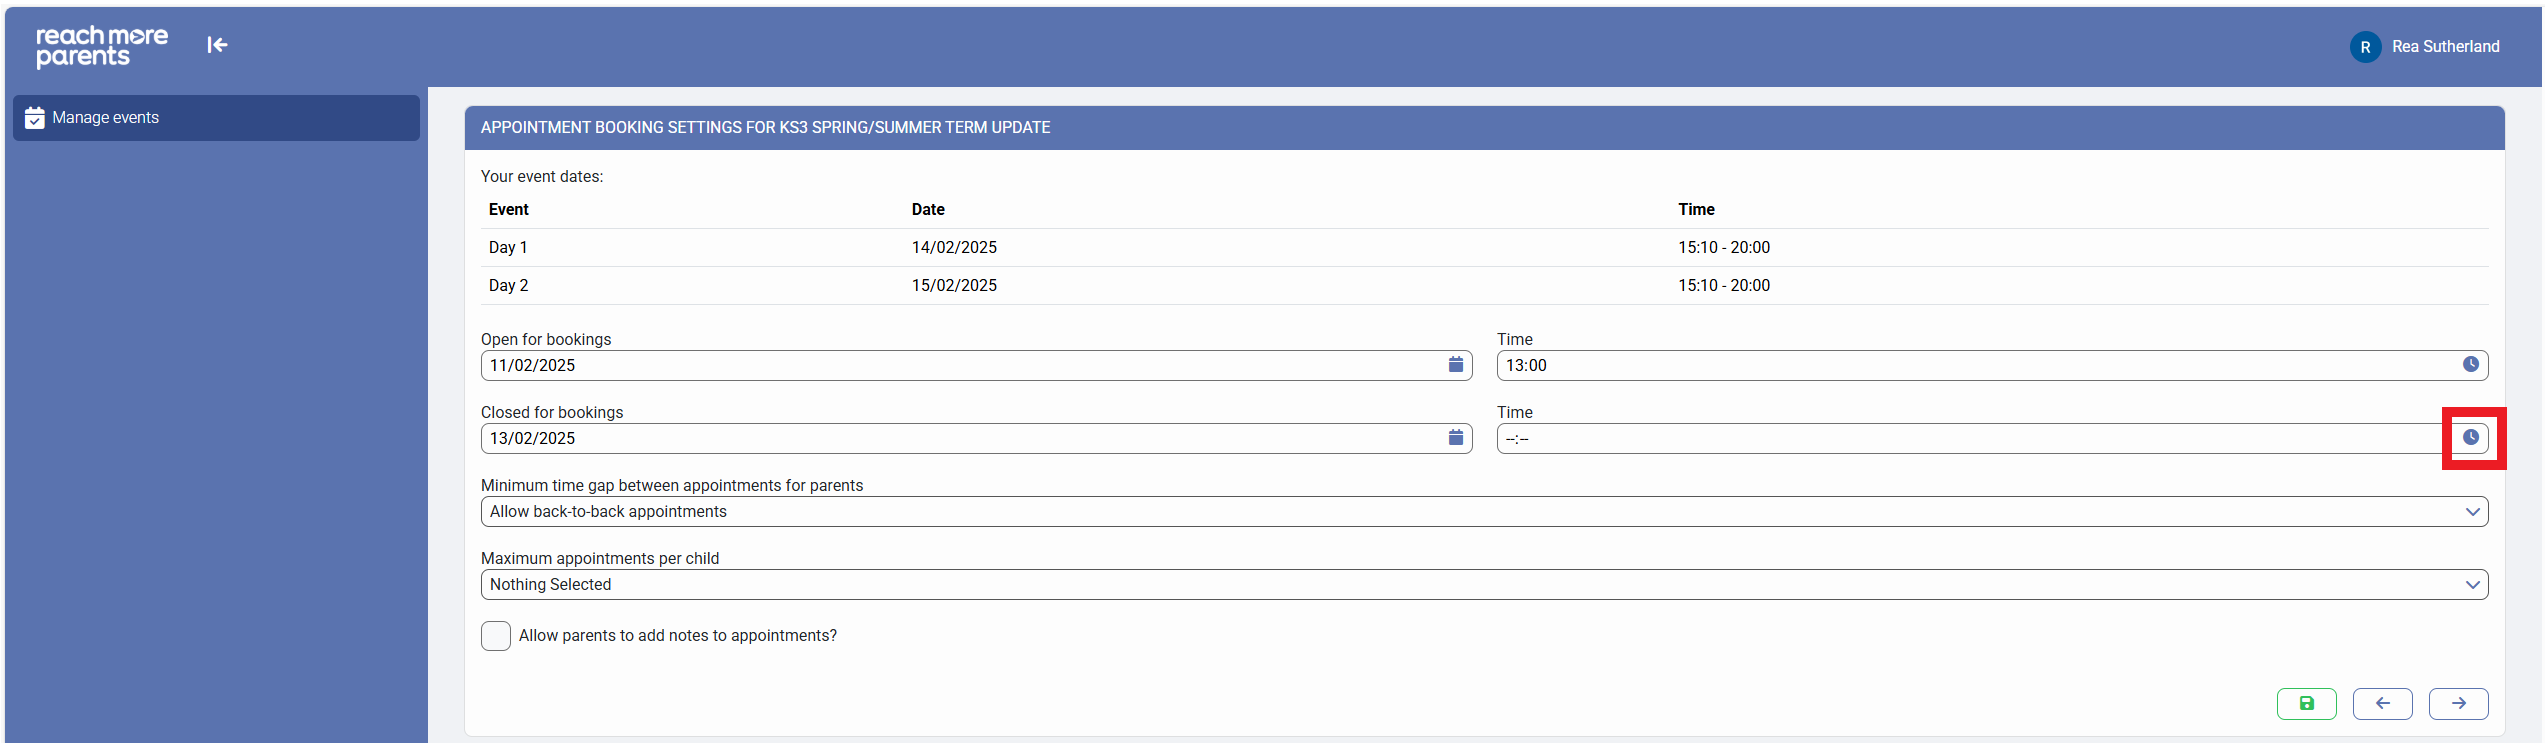
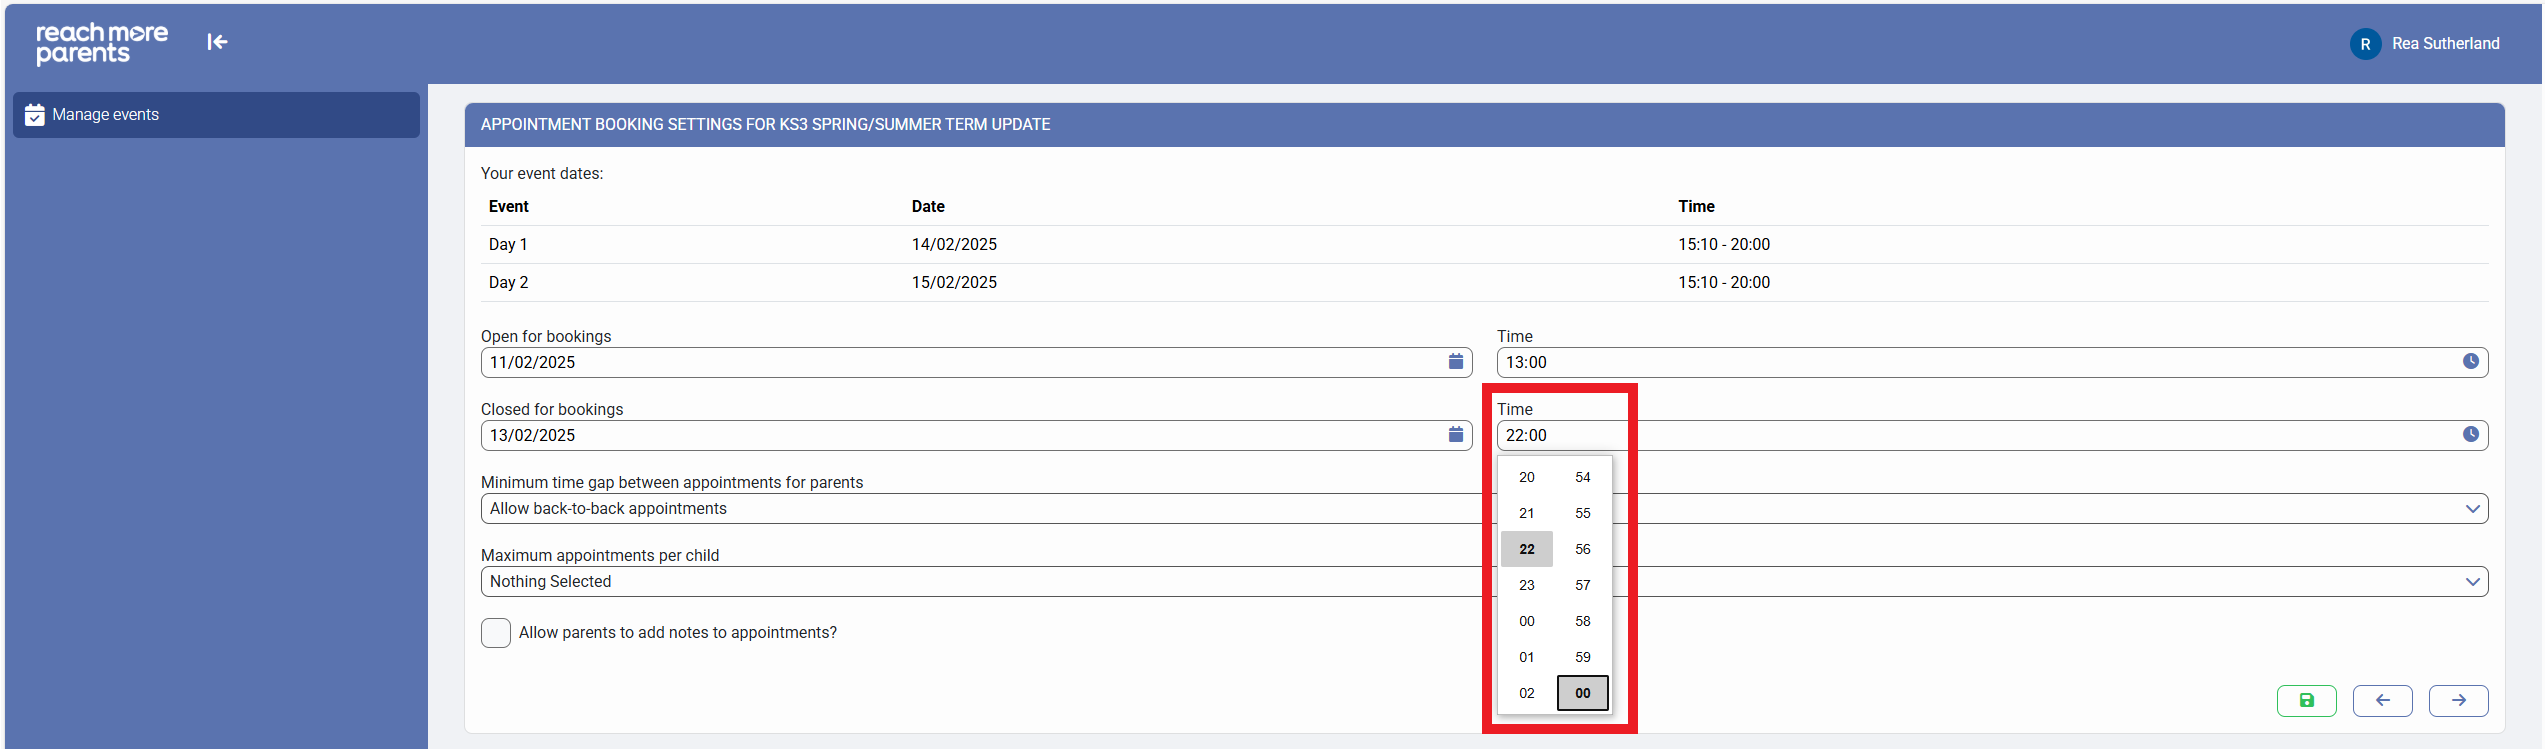
4) Click on the "Time" clock icon to use the hour and minute selector to define the booking window end time
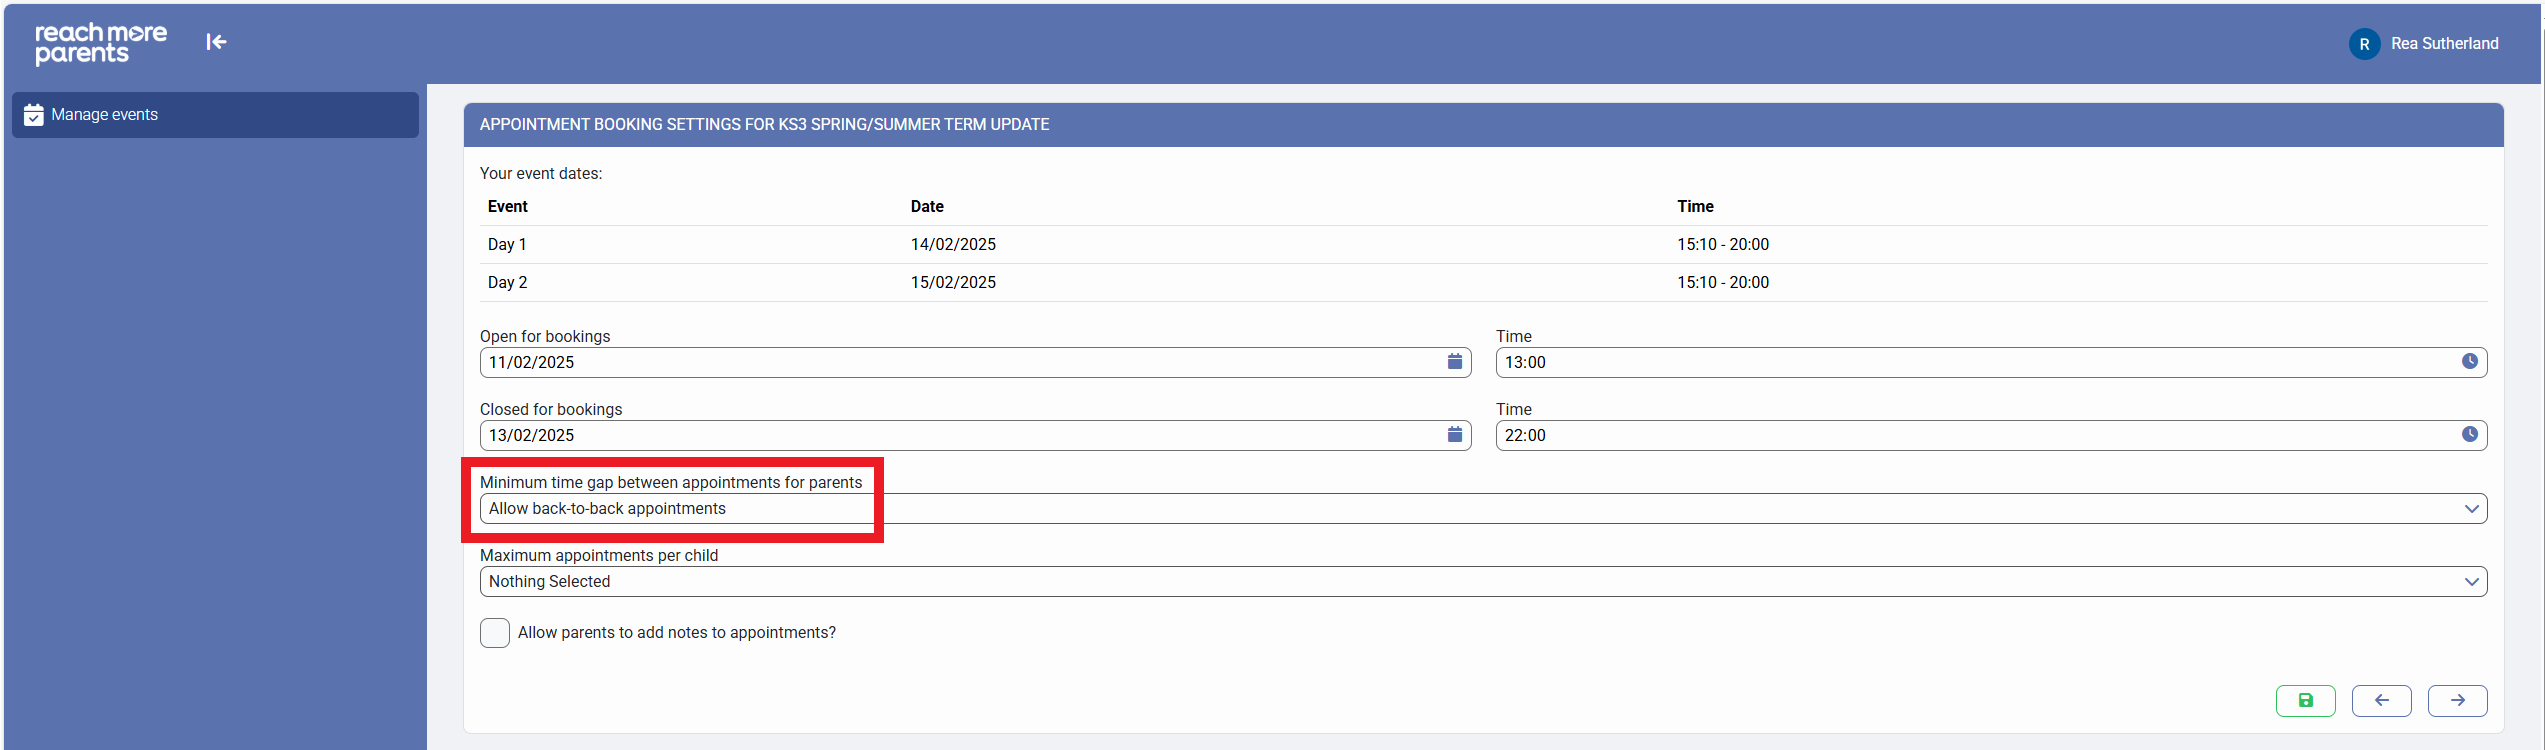
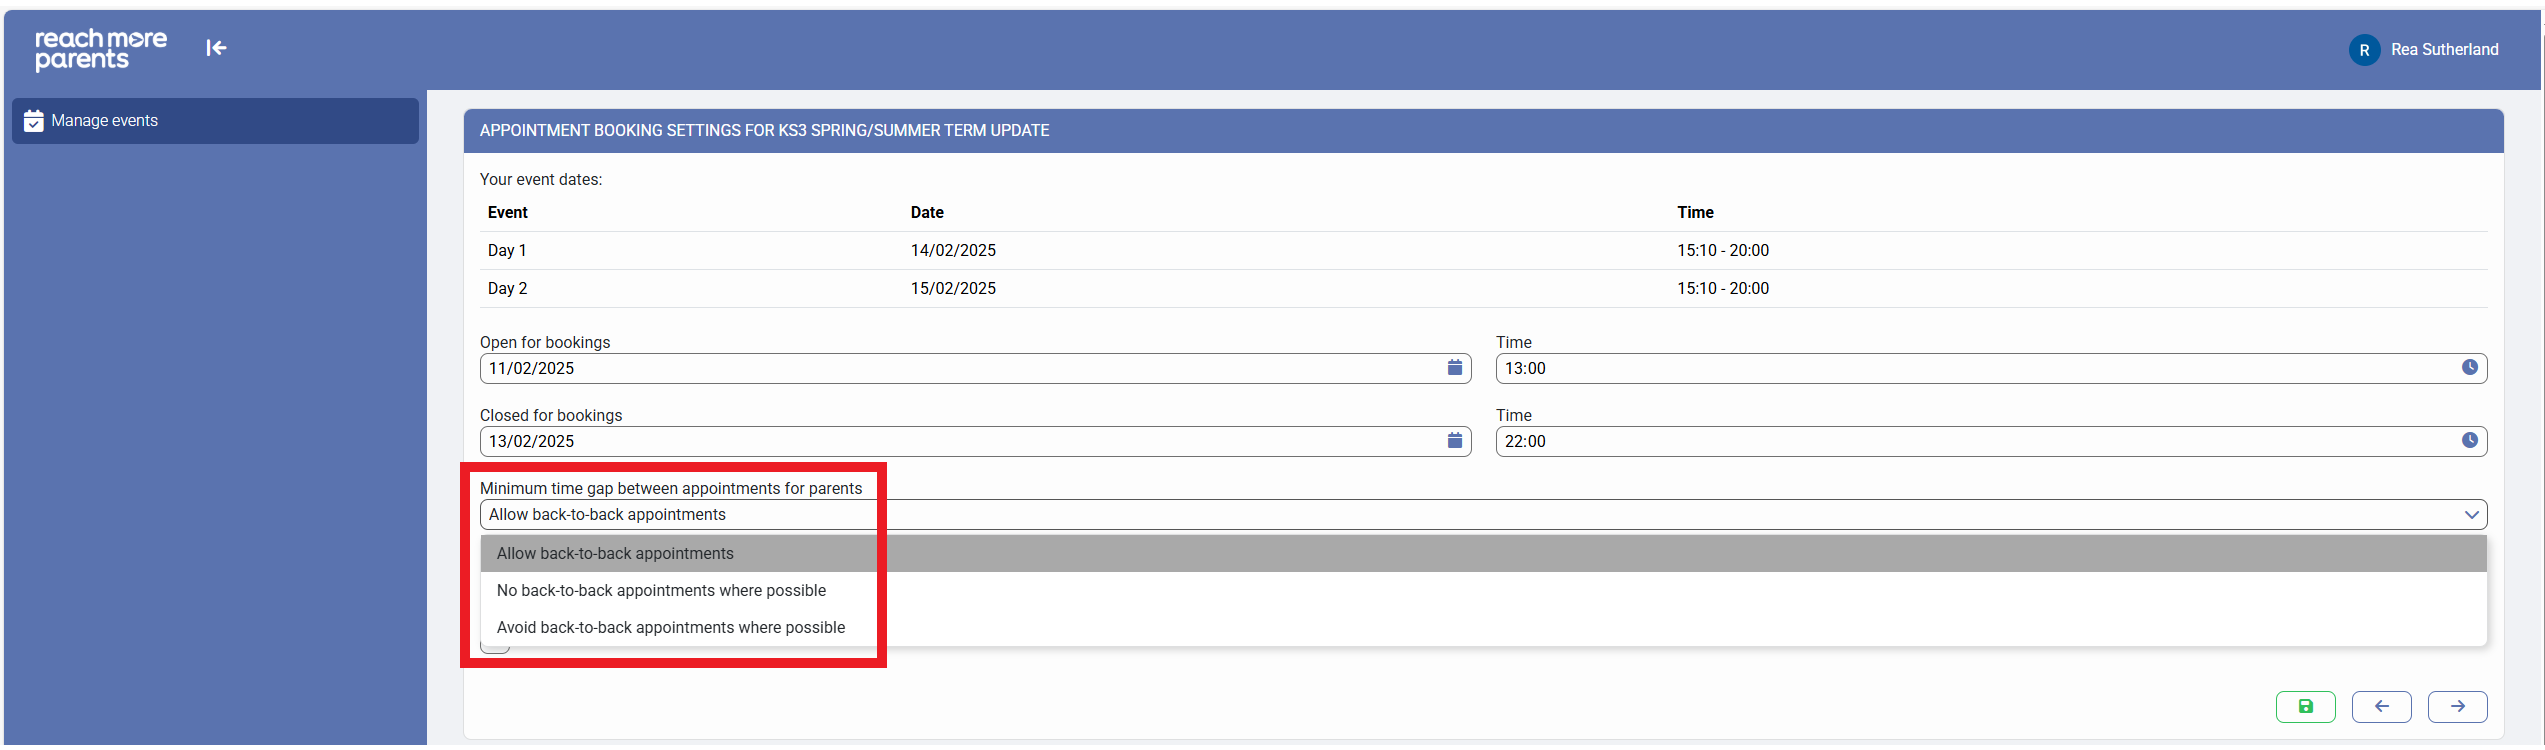
5) Click on the "Minimum time gap between appointments for parents" to choose whether to "Allow back-to-back appointments", "No back-to-back appointments where possible" or "Avoid back-to-back appointments where possible"
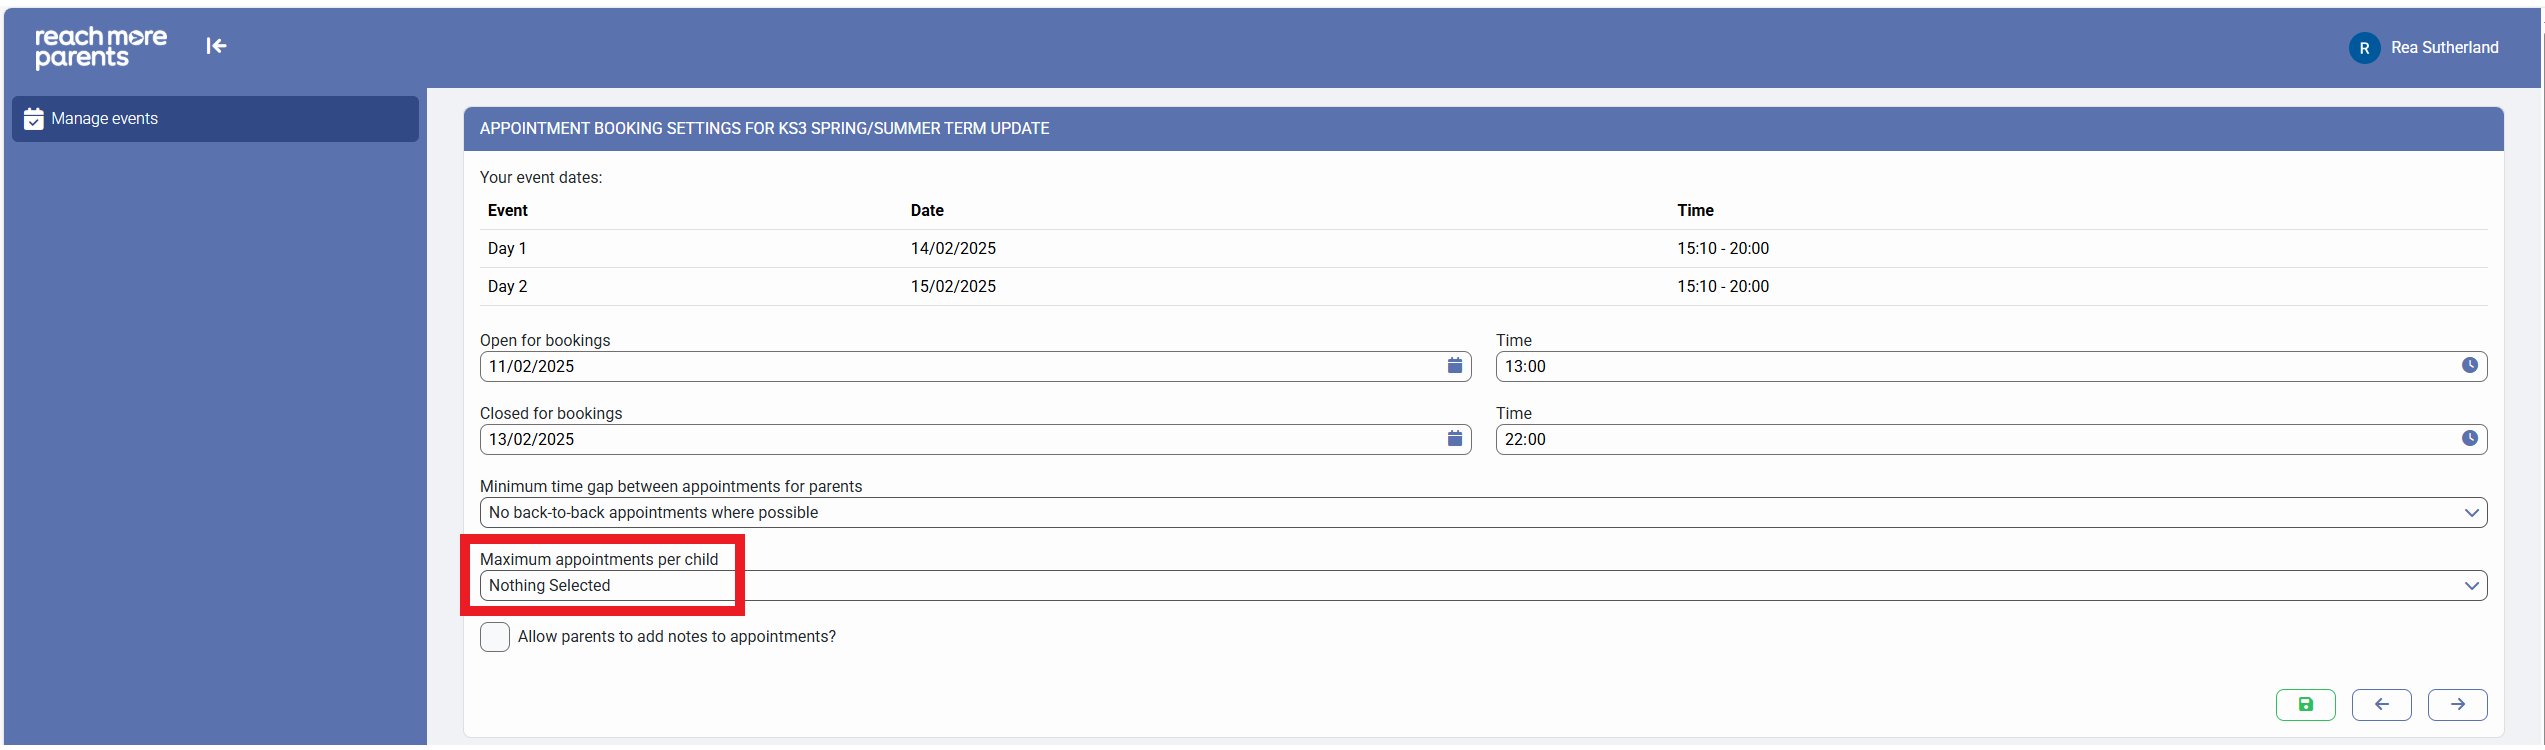
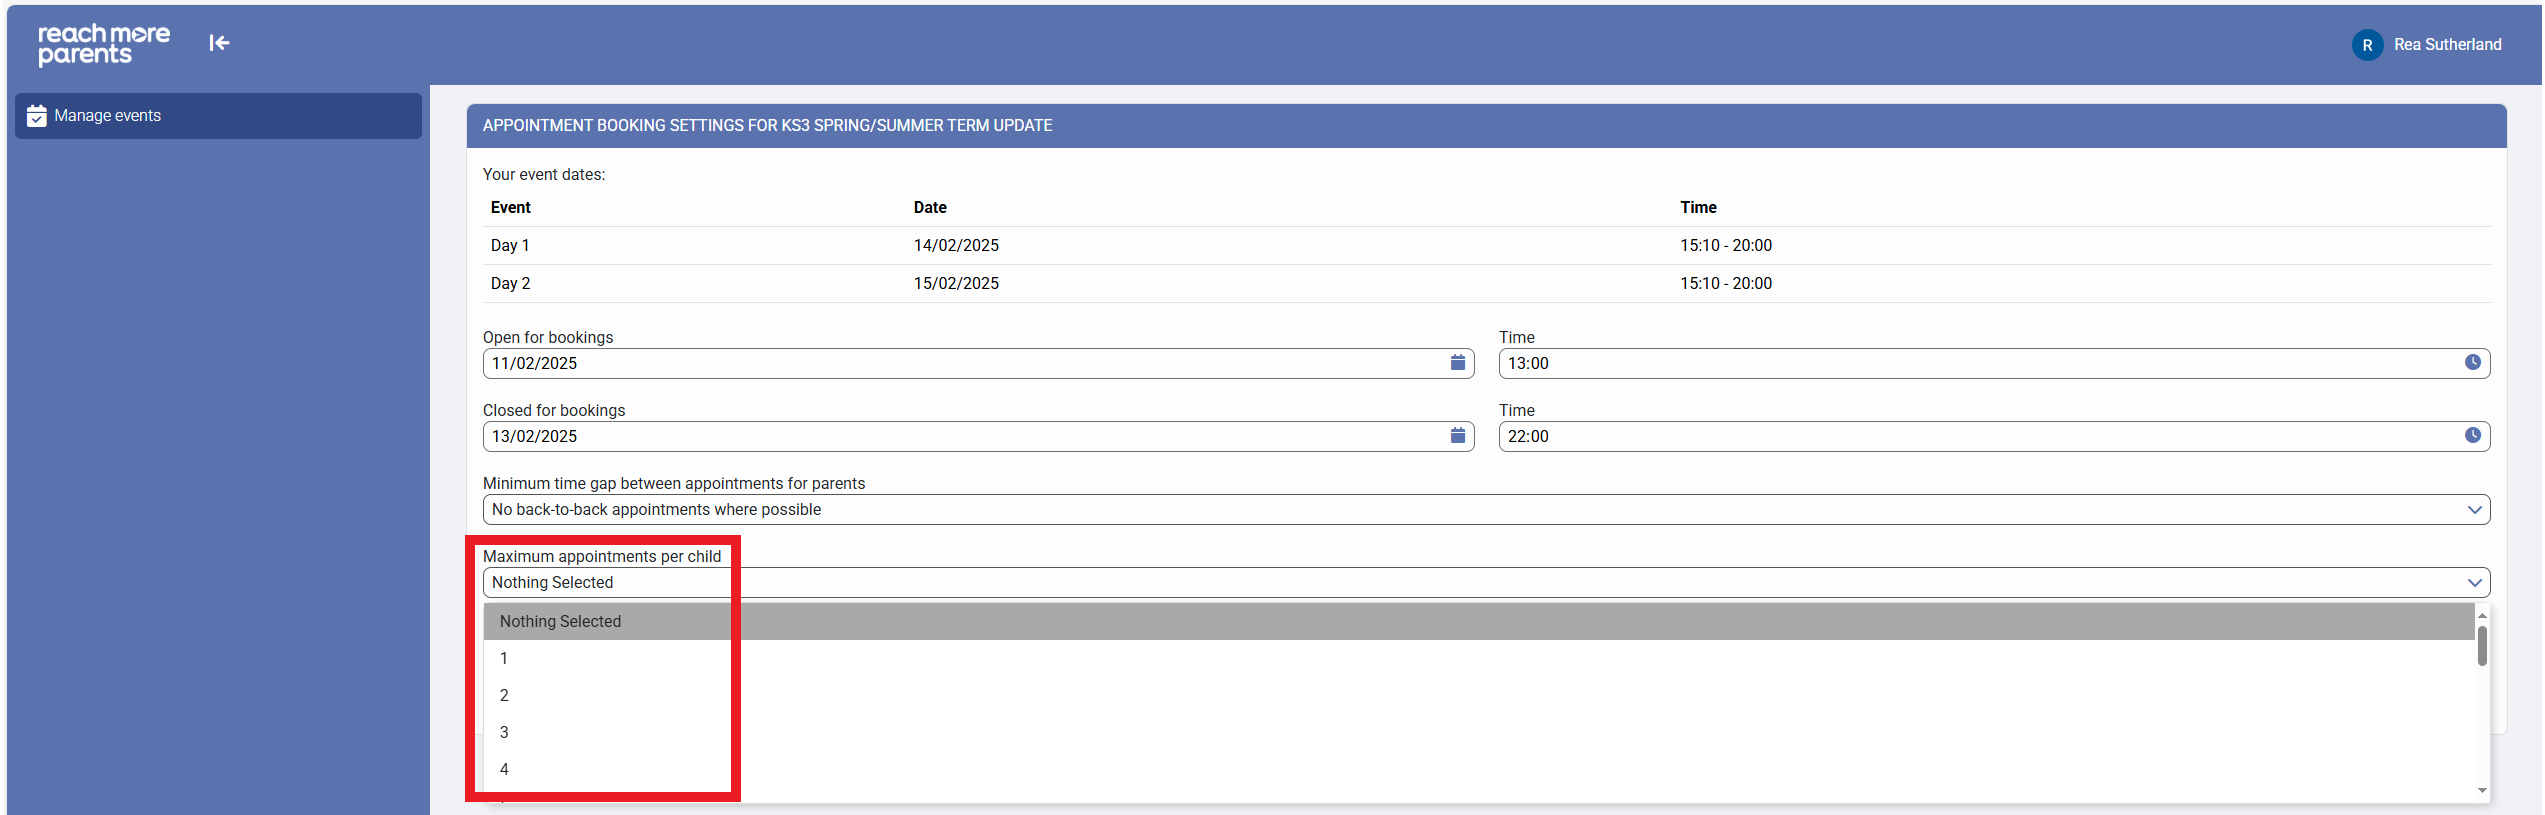
6) Click on the "Maximum appointments per child" settings and choose how many appointments you would like to limit each child's parent / carer to when booking
7) Click on "Allow parents to add notes to appointments?" if you would to grant this permission to the parents when they book their appointments
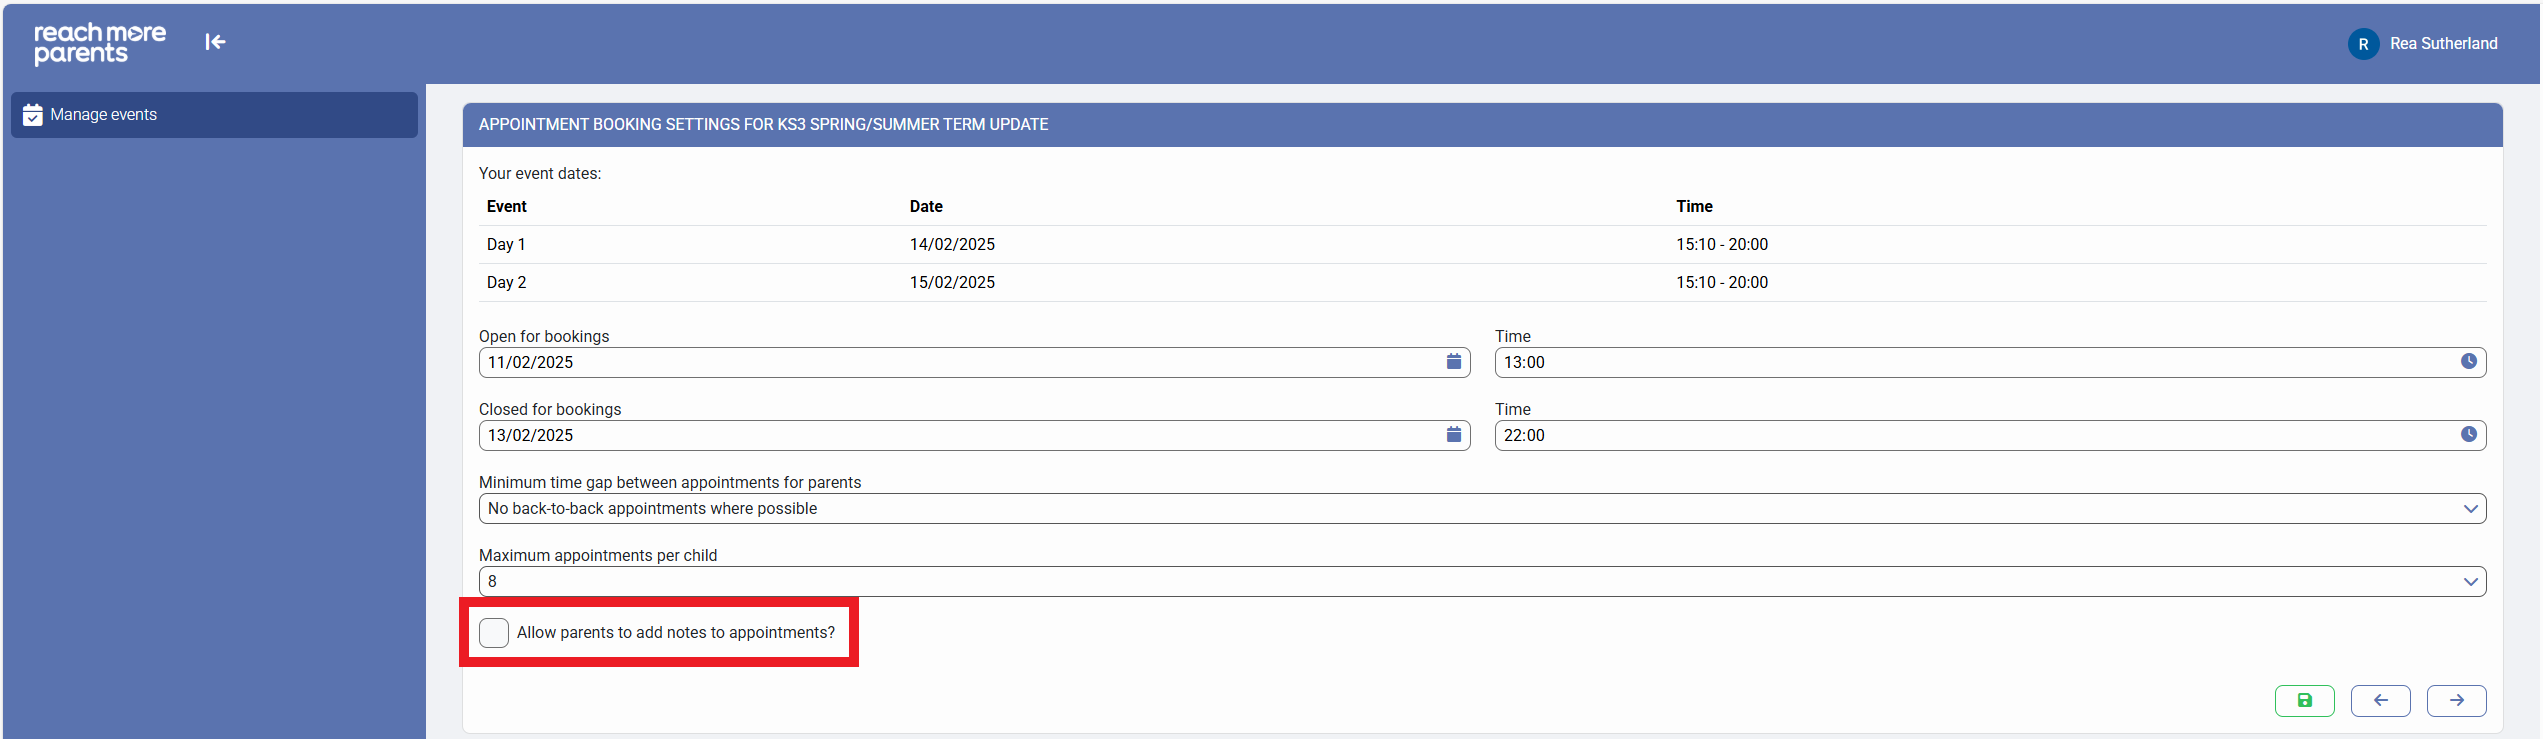
8) Click on "Next" to automatically save your progress and proceed to the next screen for creating your Parents Evening event
To continue creating or editing your event, follow the link here to go to Screen 4 - Classes & Teacher Settings.